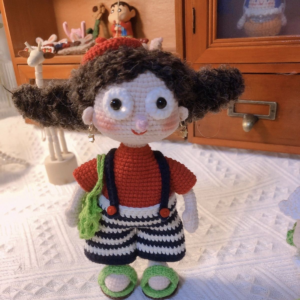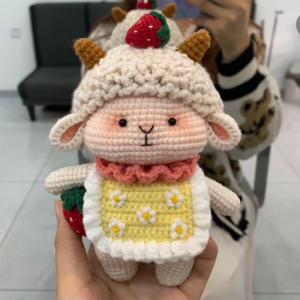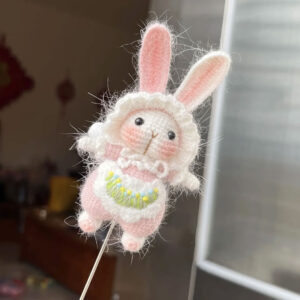
Once you have mastered the basic crochet stitches (chain, single crochet, double crochet), it is time to level up. Advanced techniques not only make your projects look more professional but can also significantly increase your knitting efficiency and speed.
Whether you are making amigurumi, garments, or intricate doilies, these tips will help you achieve cleaner edges, seamless joins, and stunning textures.
1. Preventing Spiraling in Single Crochet Rounds
When working in continuous rounds (spiral crochet), your work has a tendency to slant or spiral instead of forming neat, stacked rounds.
- The Fix: To keep your circle perfectly round, pay close attention to your tension and where you insert your hook. Marking the first stitch of each round with a stitch marker is essential. If you notice a slant, you can slightly adjust by pulling your tension a bit tighter at the end of each round, or by occasionally using the “invisible join” technique when working in joined rounds.
2. Speed Technique: Working Two Rows of Double Crochet at Once
For experienced crocheters looking to save time, there is a special technique that allows you to effectively work two rows of double crochet in one pass. This method involves creating elongated stitches that bridge the gap, reducing the number of times you need to turn your work. It is particularly useful for large, repetitive projects like blankets or scarves where speed is a priority.
3. The Art of Invisible Seaming (Invisible Join)
Nothing ruins the look of a beautiful crochet project like bulky, visible seams. Whether you are joining granny squares or seaming a garment, the goal is a seamless finish.
- How to do it: Use the mattress stitch or a slip stitch seaming technique worked through the back loops only. This creates a flat, flexible join that is virtually invisible from the right side.
- For joining rounds: The “invisible join” is a finishing technique used to close the last round of a project (like a hat or coaster) without leaving a noticeable bump, creating a perfectly smooth, seamless edge.
4. Professional Edge Finishing
The edges of your project define its overall look. For pieces like scarves, blankets, or panels of double crochet, uneven edges can look messy.
- Maintaining Straight Edges: Ensure you are counting your turning chain correctly and working the last stitch of the row into the correct place. For double crochet fabric, consistent tension is key.
- Shaping Edges: When increasing or decreasing at the edges, do so evenly to maintain a smooth, angled line without puckering.
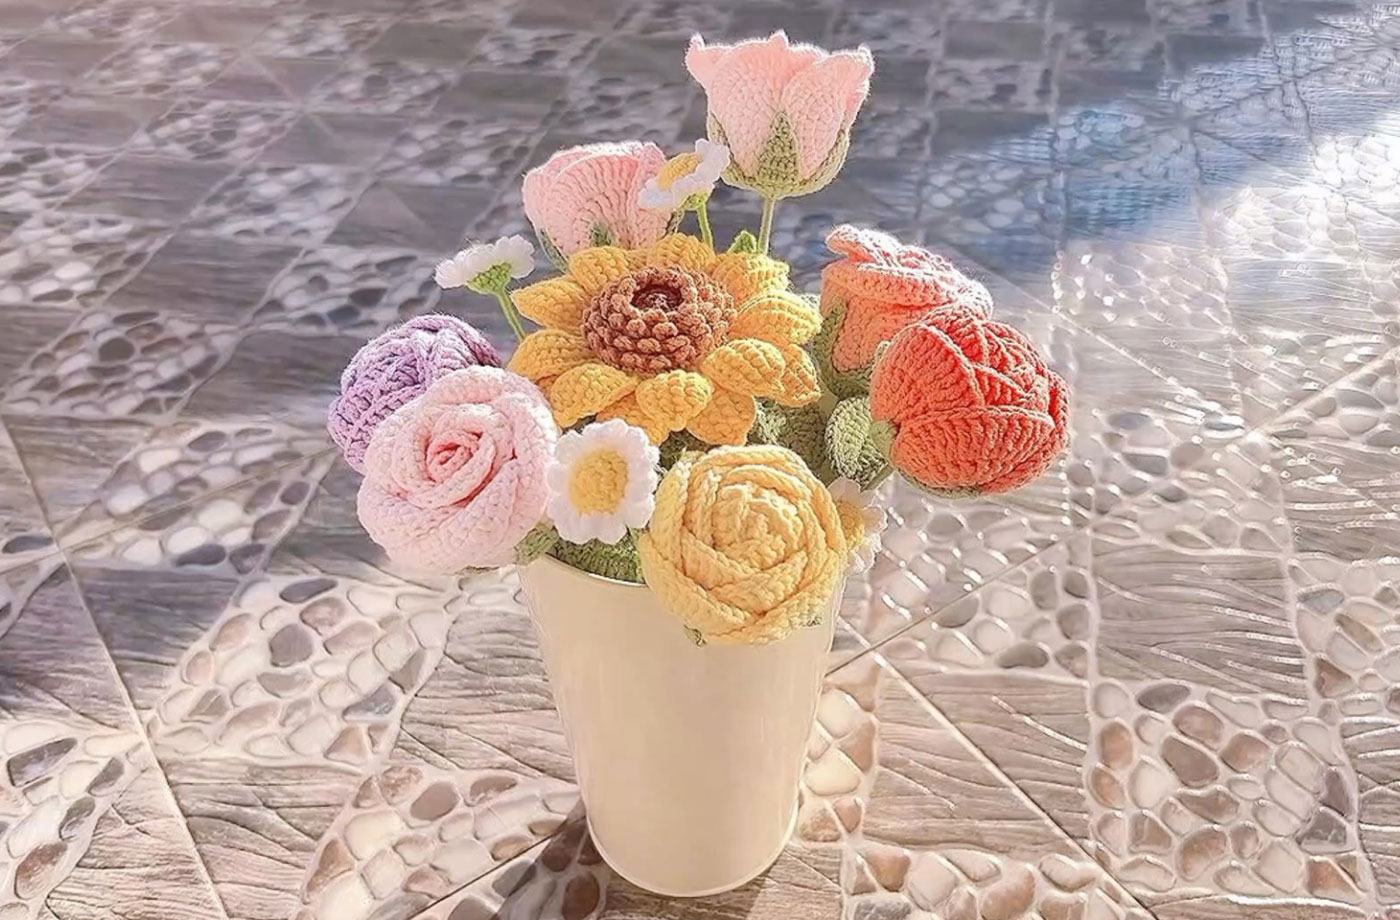
5. Mastering Special Stitches for Texture
Adding texture transforms a flat piece of fabric into a work of art. Here are some advanced stitches to practice:
- Berry Stitch / Popcorn Stitch: These stitches are created by working multiple double crochets into the same stitch and then closing them together at the top. They create a bumpy, 3D effect perfect for bobbles and decorative elements.
- Crossed Stitches: This involves skipping a stitch, working into the next, and then going back to work into the skipped stitch, creating an “X” or crossed pattern. It is great for decorative mesh and openwork designs.
- Front Post and Back Post Stitches (FP & BP):
- Front Post Double Crochet (FPDC): Inserting the hook from front to back to front around the post of the stitch from the row below.
- Back Post Double Crochet (BPDC): Inserting the hook from back to front to back around the post.
These stitches create a ribbed, knitted-look texture, perfect for cuffs, brims, and baskets.
6. Strategic Yarn Overs and Pick-Up Techniques
Sometimes, the direction you pick up your yarn can change the texture of the fabric.
- Yarn Over (YO) vs. Yarn Under (YU): In standard crochet, you always do a yarn over. However, in advanced techniques like amigurumi, using a yarn under (YU) technique for your single crochets creates a tighter, more defined “X” shaped stitch, resulting in a fabric where the stuffing doesn’t show through.
- Picking Up Stitches: When adding a border or a new element (like the brim of a cap), you often need to pick up stitches along an edge. A common advanced technique is to work only into the back loop of the existing edge. This creates a crisp, defined ridge that gives a professional look and provides a clean line for further stitching.
7. Blocking and Weaving in Ends for Complex Patterns
When working with intricate patterns like pineapples or lace, finishing is crucial.
- Consistent Tension: Maintaining even tension throughout a complex pattern ensures that the design remains symmetrical and the stitches are uniform.
- Blocking: Always block your finished lace or pineapple projects. Wet blocking involves soaking the item, gently squeezing out water, and then pinning it out to the exact measurements to stretch the stitches open and reveal the pattern’s full beauty.
- Weaving in Ends Securely: For items that will be used and washed, weave in your ends for at least 3 cm (about 1.5 inches) . Change direction while weaving to ensure the tail locks into the fabric and won’t work itself loose over time.